HEADS UP - Some links on Breeze Around The World are affiliate links. This means if you choose to make a purchase through one of the links I provided, I may earn a small commission at no extra cost to you. These earning help me keep the blog going, thank you for your support!
Are you planning on hiking the Paparoa Great Walk? I’ve got you covered! This ultimate guide covers the best time of year to go, info on the huts, milage breakdowns and my experience.
I’ve put this first hand experience guide together so you can have the best time hiking New Zealand’s newest great walk in 3 days / 2 nights!
Read the full guide or jump around here:
Table of Contents
ToggleWhere is the Paparoa Track?
The Paparoa track is a 55km (34 mi), point to point track that crosses over the Paparoa mountain range on the west coast of New Zealand. On the climbs you’ll reach peaks of 1100 meters (3608ft). The nearest towns are Blackball and Punakaiki (the pancake rocks!) which are both pretty small. So for all intents and purposes the nearest resupply town is Greymouth!

MORE GREAT WALK GUIDES

When to Hike the Paparoa Track
It’s important to know that the official great walk season as dubbed by New Zealand’s department of conservation (DOC) is from October – April. AKA summer time! This is likely when you’ll want to plan your walk.
The west coast can be hammered by rain, wind, snow and fog year round and the Paparoa track has many exposed sections. Of course you can hike this track outside the great walk season, just know you need to be prepared for winter tramping.
We hiked the Paparoa track in late February (the middle of summer). The week we had planned the trip happened to be the first time they had rain in over a month. And the rain came back strong. We decided to go through with our trip but boy oh boy it was a wet and cold one. I gotta say… we still loved it! More on our experience later.

How to Hike the Paparoa Track
So how should you go about hiking the Paparoa track? This is my route recommendation!
Paparoa is not a looped track and you will have to arrange transportation for yourself between the start and end points.
You can choose to hike south to north (Smoke-Ho carpark in Blackball to Punakaiki) or north to south (Punakaiki to Blackball). We choose to hike the more popular south to north direction!
The Paparoa great walk is also open to mountain bikers year round, so it is well graded the whole way. Just look out for bike traffic!
There are just 3 huts and no campsite on this track so there’s not much to “customize” on this route. Because of that it’s probably one of the most straightforward great walks! Just pick a direction and hike until you reach a hut (hahaa).

Huts on the Paparoa Track
As I mentioned there are 3 huts along this track and no option to camp. For us, this made the Paparoa great walk one of the most expensive tracks we’d done. The huts range from $76 – $117 NZD ($47 – $71 USD) for international hikers.
Most people hike this track in 4 days and 3 nights. Because of our schedule and wanting to save a bit of money on the huts, we decided to spend just 2 nights on the track, completing it in 3 days.
The huts are: Ces Clark, Moonlight Tops and Pororari. All 3 of these huts were recently built and because of that they are truly so nice! They have gas burners to cook on, a wood burning stove, running water, composting toilets (pack TP just in case), mattresses and sometimes even a deck of cards! Ces Clark hut just had one sleeping area but Moonlight Tops and Pororari are 20 person huts with had 2 separate sleeping rooms and big common spaces.
While the huts have mattresses, you supply the sleeping bag and pillow! This is not an all inclusive experience. I’ve heard tales of people thinking that because they booked everything through the DOC that things would be set up for them at the huts, this is not the case! Remember you are tramping, the hut is just a fancy tent.
As for drinking water, all the huts had a rainwater catchment system which they advise you to purify in some way. Either by boiling, filtering or using tablets. To save on fuel we have a Sawyer filter which conveniently screws on to most plastic water bottles.
What are New Zealand Huts Like?
If this is your first hut experience…
I had never stayed in a hut until coming to New Zealand and I didn’t realize that you sorta have to sleep right next to strangers. So just manage your expectations – it’s one longgggg bunk bed with a bunch of mattresses next to one another. Cozy!

Day by Day Breakdown of Paparoa
Below I’ve listed the distances between the hut and a bit about the Paparoa track in each section. Because we opted to hike the track in just 3 days rather than 4, our first night was at Moonlight Tops hut, we skipped over Ces Clark.
If you want to do the hike in just 3 days, opt to skip Ces Clark hut. Going from Ces Clark to Pororari and skipping Moonlight Tops will leave you with a 30km (18 mi) day. We had a great time hiking up to Ces Clark, having a lunch break and then continuing on to Moonlight tops, it was a super doable 20km (12 mi) day. For a detailed elevation and distance profile, look here.
This is the breakdown of a 3 day hike starting south at Smoke Ho and hiking north, ending at Punakaki (the pancake rocks).
Day 1
Smoke-Ho carpark to Ces Clark hut 10.3 km (6.4 mi) roughly 600m (1800ft) elevation gain. Then Ces Clark hut to Moonlight tops 9.7 km (6 mi) roughly 200 m (600 ft) elevation gain
This was a beautiful forested walk with a few suspension bridges and babbling brooks. It started off very chill then after about 45 minutes we really started to climb. It took us about 3.5 hours to hike up to Ces Clark and the second half of that was switchbacks. Albeit, the switchbacks were nice and long but it’s an uphill journey for sure.
From Ces Clark hut to Moonlight tops is a gorgeous alpine section. It’s still an uphill section of the track but the grade is not as steep as the first half of the day. We hiked it in about 2 hours.
Day 2
Moonlight Tops to Pororari hut 19.1 km (11 mi) roughly 480 m (1574 ft) elevation drop
While you do have an overall descent on this day, a good section of it is up on the ridgeline! There are dramatic views and steep drop offs as you walk the spine of the mountain.
Day 3
Pororari hut to Pororari river carpark 16 km (10 mi) roughly 550 m (1800) elevation drop
Behold! The goblin forest! This was one of my favorite parts of the whole track. The goblin forest is a mossy beech forest that has a mystical feel to it. You’ll drop back into rainforest territory on your last day. You start the day with a fierce decline and then it evens out as you’ll follow the river track to the carpark. I think we hiked out in about 3.5 hours. You end at the Pororari river carpark which is just 1km down the road from the infamous “pancake rocks.”

Where to Stay Near Paparoa
We stayed at the Global Village Travelers Lodge in Greymouth both before and after our tramp. And we loved it! We’ve even been back since and the owners recognized us. It’s truly one of the best hostels I’ve stayed at in all of New Zealand. Not to mention it’s just $36 NZD for a bunk and you have access to bikes, kayaks and a beautiful kitchen and for a small fee a hot tub and sauna! I wouldn’t stay anywhere else in the area!
Transportation
If you’re staying in Greymouth (which seems to be the most feasible town to leave from) you’ll need transportation to Blackball to start your trek. I’m not gonna lie, I feel like we could have planned this a lot better and saved some money.
We opted to use a shuttle service that allowed us to park our car in their secure lot (for an additional fee of course). We used Paparoa Shuttles in Greymouth which allowed us to leave our car and get dropped off / picked up right at the trailhead. If you’re not coming back to Greymouth they’ll even relocate your car for you (again, for a “small” fee).
While this was super convenient it did cost us. For 2 of us being shuttled both to and from the Paparoa track and leaving our car in the lot, it cost us $299.79 NZD / 176 USD. Just about as much as hiking the trail itself! I believe it was around $68 NZD / 60 USD per person per direction for the shuttle and $11 NZD / 7 USD per day to leave the car.
While it may seem obvious to drive to Smoke-Ho and then figure out a way back to the car at the other end, the car park is for day use only. Since this is a great walk and there are rangers in the national park, I’m sure the “no overnight vehicles” rule is enforced.
For us, parking the car in Greymouth and using the shuttle was the most straightforward way to get to the track, in hindsight we learned a few things.
First of all if you have a car and you are coming back to Greymouth, your hostel will probably let you leave the car there during your 3-4 day absence. I wish I would have coordinated that sooner with Global Village. Next time I would leave my car at Global Village and walk or bus to the shuttle pick up spot.
If you don’t have a car and you don’t want to pay $68 NZD for the shuttle to get to Smoke-Ho car park, you’re pretty much left with hitchhiking.
I looked and looked for a bus route that would get us close to the start of the Paparoa track and came up dry. You can take public transportation to the town of Blackball and walk to the track, but it’ll add a lot of mileage to your day 1.
As for at the end of the Paparoa track… Well, we met tons of awesome people on the track, many of whom had cars and finished at the same time as us. They all offered us rides as we waited for our $68 shuttle.
Now that I know more about the hitchhiking culture down here I would be more inclined to risk it and not book the return shuttle in the future. I also didn’t think to look into a bus from Punakaiki back to Greymouth at the time, but there is an Intercity Bus that can take you between the two towns.
All in all, the start and end points of the Paparoa great walk are deceptively hard to get to and you’ll likely have to shell out some cash or rely on the kindness of strangers for transportation.
Food Inspiration
I loveeee planning and executing a good backpacking meal plan! I always aim for lightweight, high protein, yummy meals! I eat a vegetarian diet (put opted to eat some tuna on this trip) and Nate eats an omnivore diet, so you’ll see both veggie and meat options in the spreadsheet below.
Breakfast | Lunch | Snacks | Dinner |
Eggs on toast in the hostel | Mediterranean Couscous salad
| Beef jerky OSM Bars Hot coco! | Dehydrated mashed potatoes, peas and mac and cheese Carbonara |
Protein Oats | Tuna and ramen | Beef jerky Mixed nuts OSM bars Hot coco | “Real Foods” backpacker meals |
Protein Oats | Tuna and ramen | Mixed nuts Fruit leather | Off the trail |
To save money we made our own “lightweight” backpacking meals from grocery store items for our breakfasts, lunches and one dinner. For the last night we decided to treat ourselves to a premade backpackers dinner! And you know what, it was so yummy and we didn’t regret the $14 nzd.
To save on trash produced on the trail (and the weight of the packaging) we cut away excess packaging. I bought tuna in single serving packets not in tins to save weight. I also poured the boxed mac and cheese into a ziplock bag for the trip.
Our protein oats are tried and true. We do a cup or so of rolled oats, cinnamon, brown sugar, protein powder and cranberries. Easy peasy!
We also discovered couscous is a backpackers friend! It rehydrates so fast and really fills you up. We also planned that the couscous salad would be our first meal on the trail, so it could be heavier since we’d only be hiking for 3 hours with it. We packed couscous, cucumber, tomatoes and feta cheese and made a little trail salad. We also mixed all our spices in with the couscous and it worked like a charm.
Lastly, to save on fuel and cooking time, I would pre “cold soak” my ramen and my mac and cheese about 2 hours before I intended to eat them. These are just a few things I do to make cooking on the trail easier and more affordable!
For more backpacking meal ideas, check out my article “10 Cold Soak Vegetarian Lunches.”

Cost Breakdown
Alrighty, so how much did this 3 day / 2 night trip cost us? This was by far the most expensive great walk we’ve done (we have 4 under our belt now). Namely because you must sleep in the huts and because we spent a lot on transportation.
I’ve kept the cost in NZD and the cost is PER PERSON. So costs like the $100 private hostel room just reflects my $50 share.
Lodging
$36 Global Village bunk before
$206 for 2 nights in huts
$50 Global Village private room after
Transportation
$149.89 shuttle
Food
$55 backpacking food
Safety
$0 register your intentions with adventuresmart.nz
So there you have it! I spent $496.89 NZD / $292 USD on this 3 day backpacking trip.
While I am proud of how scrappy I am in keeping my food costs low, the unavoidable hut fees made this an incredibly expensive great walk. AND we only did 2 nights rather than 3 to save money.

What's it Like to Hike the Paparoa Track?
So, what’s it actually like to hike the Paparoa track? Are the views as majestic as they say?
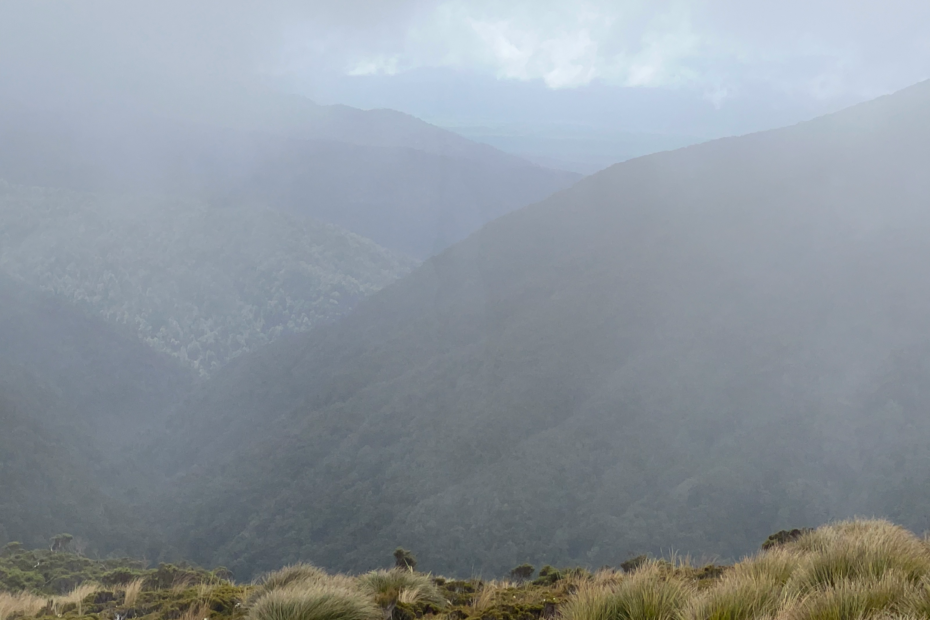
Well, I can tell you about what it’s like to hike every step of the track, but I can’t tell you a thing about the views. Because we hiked for 3 days in the rain and fog. Yep, didn’t see a thing.
The day before we were scheduled to hit the trail, we watched some seriously impressive rain fall from the hostel as we packed our backpacks. The next morning when the rain hadn’t let up, we couldn’t tell if we were young and foolish or being adventurous while we waited for the shuttle in the rain.
We told ourselves if it was really bad out there we couldn’t be afraid to turn around. I personally felt very relieved when we shared the shuttle with 6 other hikers all in their 50s and beyond. Surely these weathered hikers (pun intended and enjoyed) proved we weren’t being young and stubborn. One couple was in their 60s and from Australia. They said “well this was bound to happen to us eventually, we’ve had really good weather on all our other great walks! We’ve just got to do this one in the rain.”
We hiked the first 6 miles mostly sheltered in the forest and mostly dry. Huzzah! We made it to Ces Clark hut in just over 3 hours (the DOC says it’ll take 4). While we were enjoying our lunch and looking out the window, the rain doubled down. And we knew we had to go back out in it to make it up to Moonlight Tops.
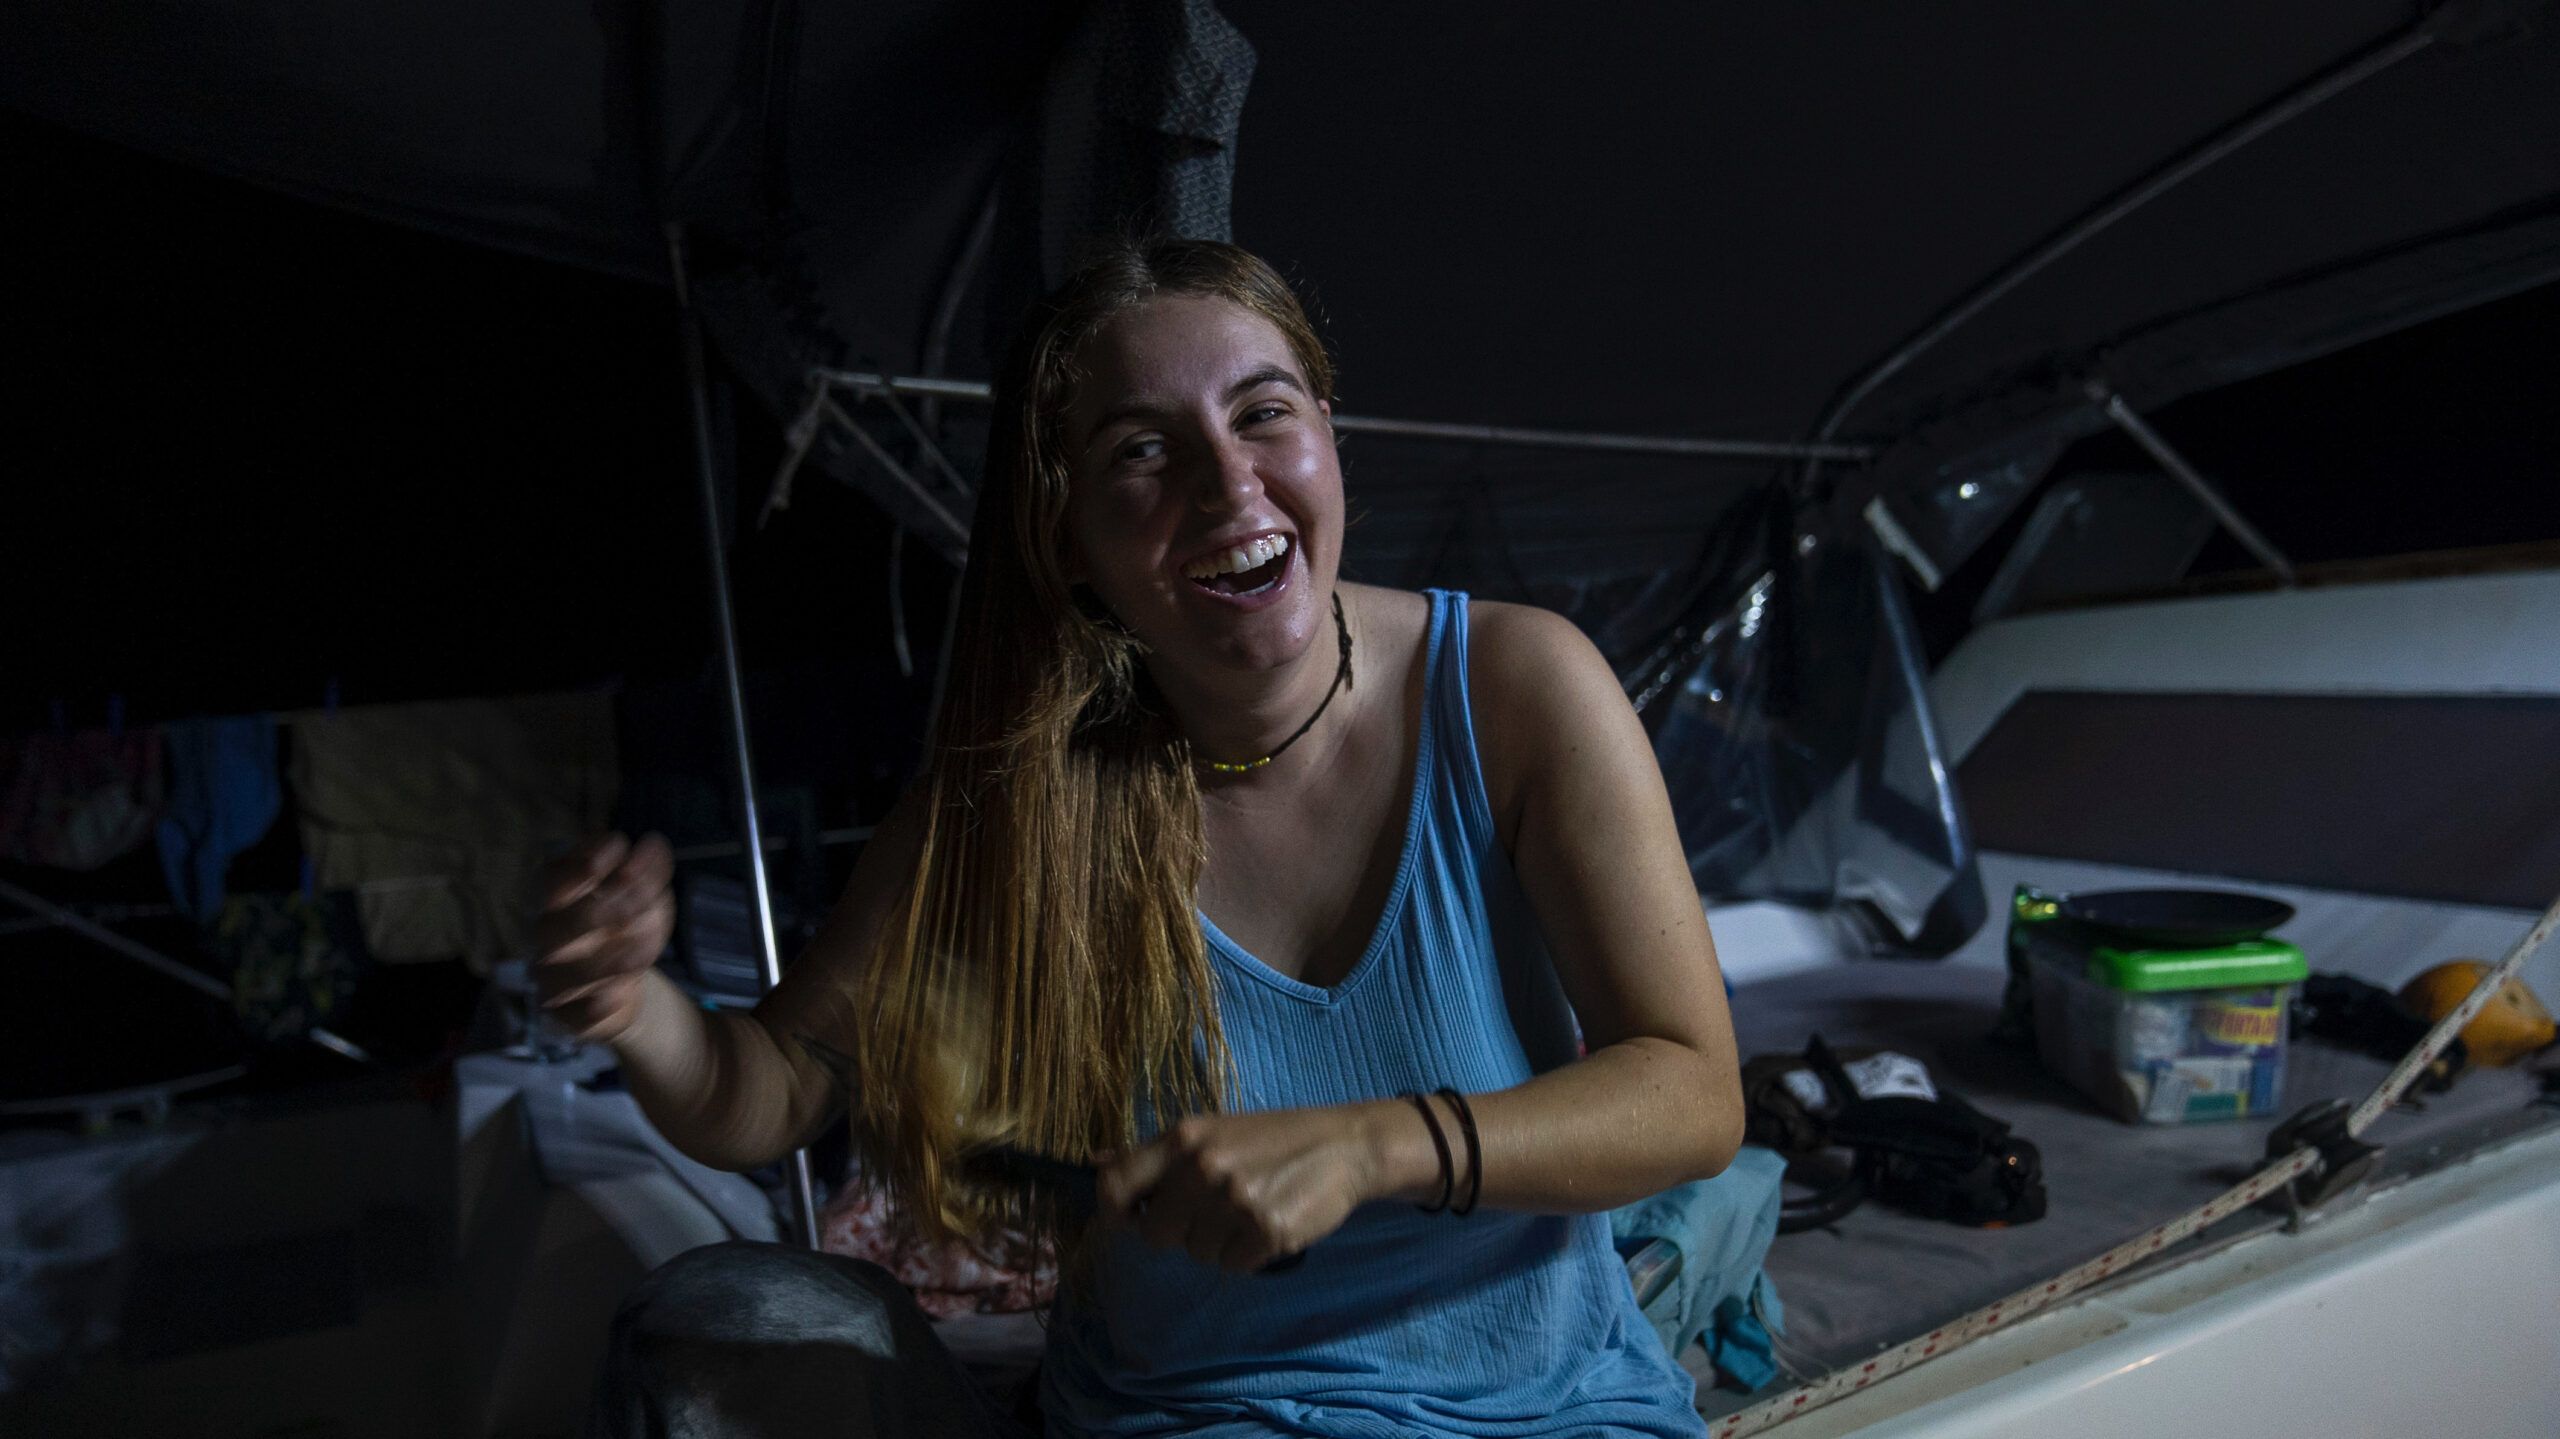
We hiked along the fairly exposed ridgeline in what we both agreed was the worst weather we’d ever hiked in. But we had smiles on our faces and never felt unsafe. We were giggling and groaning and checking in on one another over the sound of the wind.
This ridge was probably our favorite bit of terrain (despite the weather) because it wasn’t just grueling switchbacks. While we were ultimately gaining elevation, it was a nice undulating track. We really do love alpine hiking!
Thankfully we made it to Moonlight Tops before the worst of the weather rolled in. At the hut we met up with the other crazy people hiking in the less than ideal weather and we all gawked at the white cloud that engulfed us high in the hills.
The fog conveniently obscured the “best view on the track.”
Thankfully we dried out by the fire and warmed up with some hot coco. We awoke for day 2 to find a bit of a reprieve from the rain. During our hike we even saw SOME trees down below the cliffside! Yahoo! It was pretty surreal to peek at the neighboring mountains through the clouds.
Day 2 was mostly downhill. Allegedly there are some really great views on this section but we mostly had the mists and clouds to stare at. You can’t control the weather but you can control your attitude!
There’s an emergency shelter a little more than halfway to Pororari hut. This is where we stopped for lunch to break up our 12 mile day. I want to say we made it to the hut in about 4 hours. Pororari hut is identical to Moonlight Tops so it felt like nothing had changed from the night before!
This was honestly such a fast and furious trek, day 3 came and went by lunch! It’s just a couple hour walk down to the river and then the track follows the river out to the main road. We ate lunch in the grass near the car park waiting for the shuttle.
I’m so glad we did this hike despite the rain and clouds. The grit added a certain memorability to the whole experience. Hopefully this guide gives you all the intel you need to make the most of your Paparoa Great Walk!
Bree is a hobby travel writer who specializes in backpacking guides and ocean based travel. She has worked in marine based tourism in Alaska and in ocean outdoor education on Catalina Island. She is currently living with her partner in New Zealand where she is working and backpacking.
This post may contain affiliate links. If you book something through my link I will receive a small commission at no extra cost to you. Thank you for choosing to support my blog!
Ahoy! I’m Bree and I’ve started this blog to help you plan your next great outdoor adventure. With a background in marine science, I’ve got an aptitude for all things ocean, but you’ll find land based adventures here too! Everything you see here is based on my own travel experience and paid for myself. I hope you stick around!
Pingback: Backpacking Meal Ideas: 10 Unique "No Cook" Vegetarian Lunches - Breeze Around The World
Pingback: Guide to Hiking the Able Tasman Great Walk in 4 days - Breeze Around The World
Comments are closed.